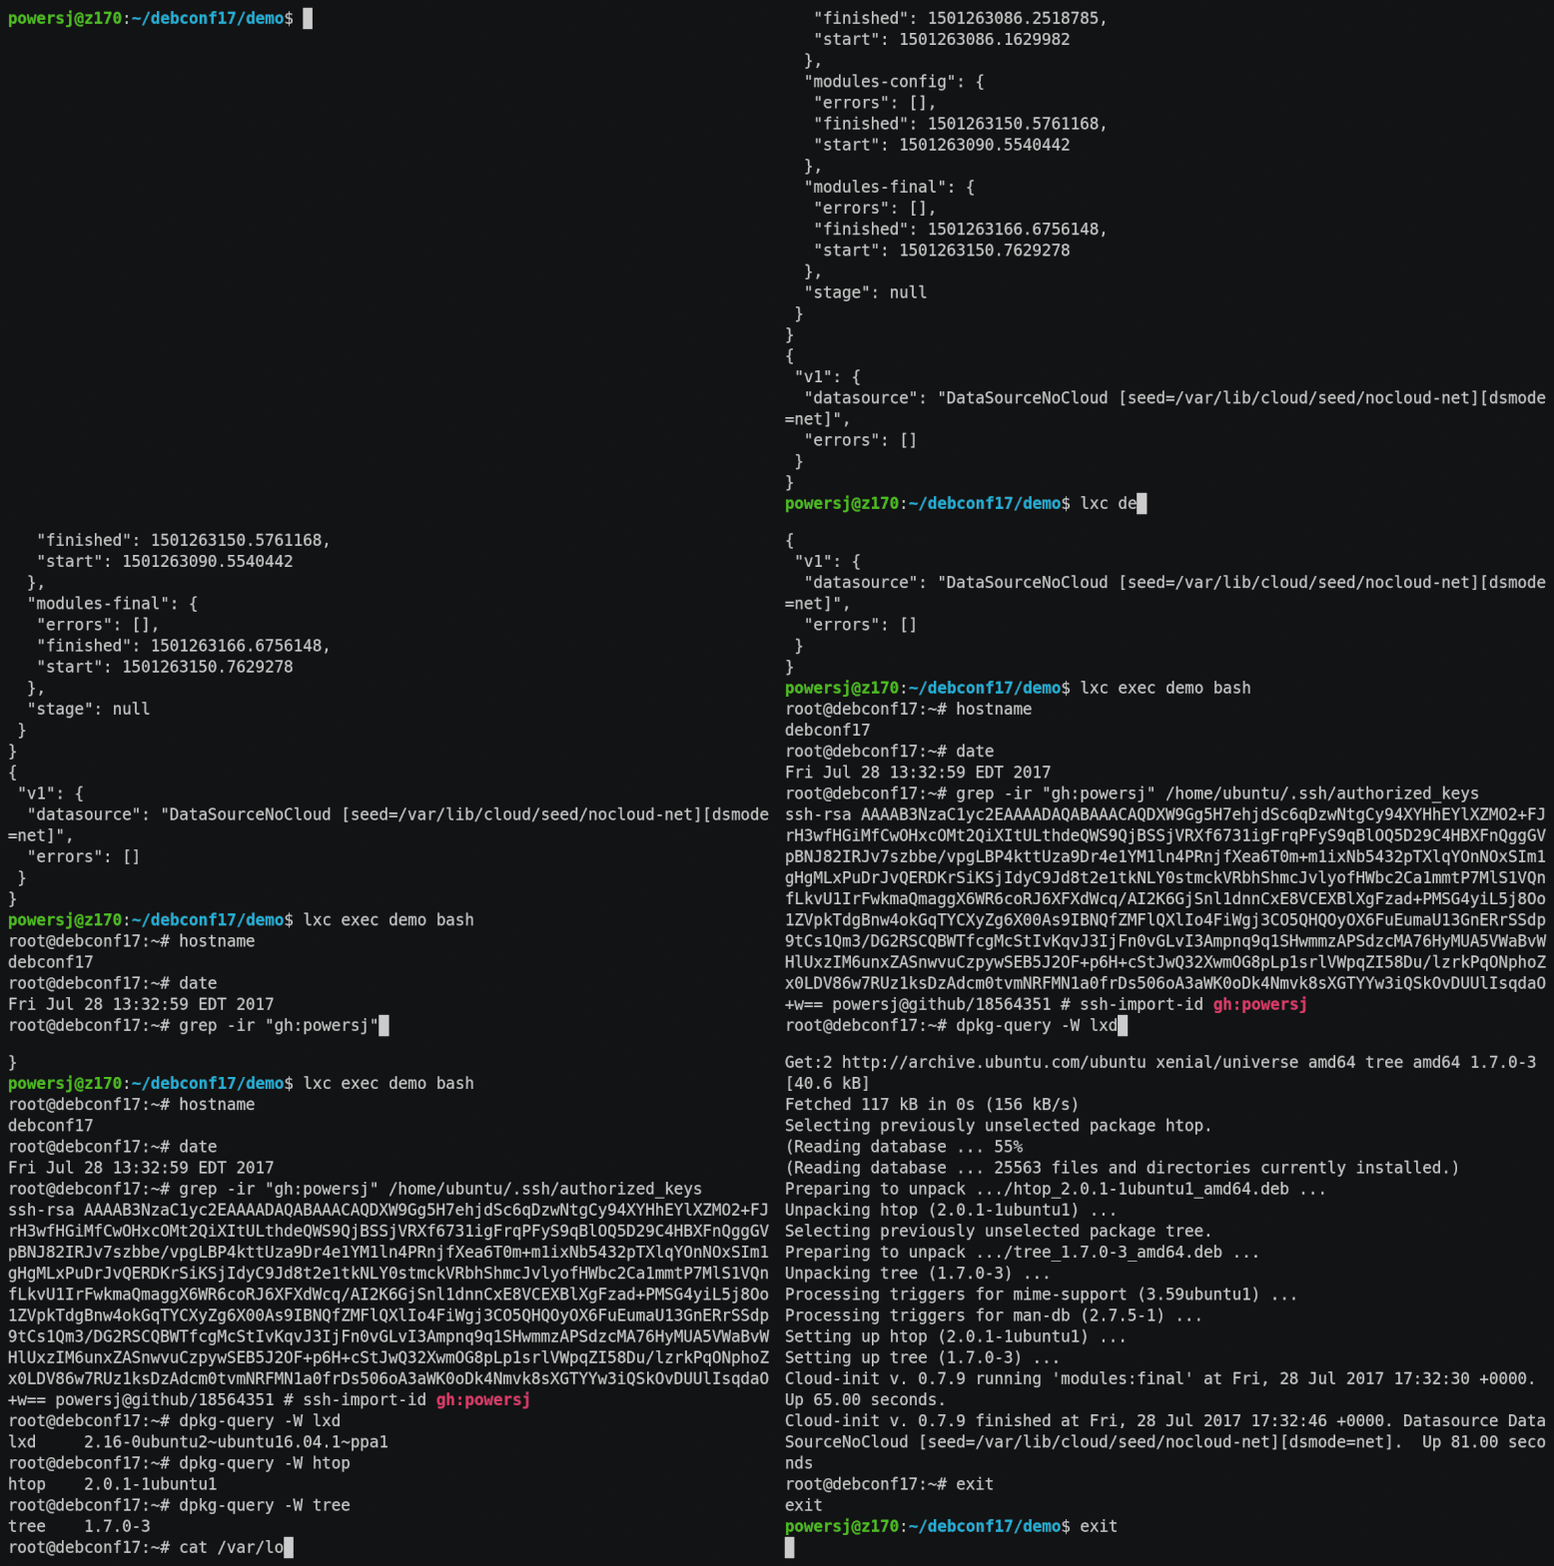
asciinema is a fantastic application for recording terminal sessions and posting them to the web. I have used these as backups to presentations at conferences and as a way to quickly share with co-workers what I am seeing when reporting issues.
I recently wanted to embed a gif demo of an application I wrote. This post documents the tooling and methods I used.

lxc Link to heading
I run both of these apps in a Ubuntu Xenial container as I did not want to have all the extra dependencies of node on my main system. I also used Xenial as the version found in Bionic does not seem to work due to a reported issue and due to the fact that the Dockerfile that is available also uses Xenial.
| |
This way all I need to do is pass the cast file in to the container, make my changes, generate the gif, and pull the resulting gif out:
| |
asciinema Link to heading
If you have not used asciinema before check out the homepage and watch the cool video example. Once installed it is time to begin making recordings.
The CLI is simple and what I typically use is something like the following:
| |
That will produce a file in the current directory called app_demo.cast. This is really a JSON file meaning you can open it up in a text editor and take a look at the contents after recording. For making small changes, editing the file directly can work, however if you want to make larger changes and scale differences, especially on longer recordings then the first tool I use helps with that.
asciinema-edit Link to heading
asciinema-edit is a fantastic set of post-production commands to run on asciinema recordings. This allows me to speed up or slow down certain parts of a recording or the whole thing. It can also cut out whole sections and have it automatically update the remaining timings to produce smooth playback.
This app works on version 2 of asciinema recordings, so older recordings will not work.
Install Link to heading
asciinema-edit is a Go app so it is very simple to get running. The below installs go as a snap, adds the go binaries to my path, and installs the app:
| |
Subcommands Link to heading
There are three subcommands available for post-production:
Cut Link to heading
The simplest, cut, removes a particular frame or range of frames from a cast. For example, if you want to remove a mistake or part from the recording that did not work out:
| |
Speed Link to heading
Next, consider the speed operation to adjust the length of parts of or an entire recording. This is of course useful if you want to shorten your entire recording down or are particular section (e.g. downloading a file):
| |
Quantize Link to heading
Finally, the quantize subcommand allows for removing long delays. This is great for reducing delays between commands where the prompt does not update. If the prompt does update, as with a download progress bar, then the speed up option works better.
| |
asciicast2gif Link to heading
Now that the cast is captured and post-production is complete it is time to create the gif! For this I use asciicast2gif, which is a product of the asciinema team themselves.
Install via npm Link to heading
Install occurs via npm and on my Xenial container I needed a newer version of npm, so I grabbed node.js 8.x the current LTS code named “Carbon”. This is one of the main reasons why I run this in a container:
| |
Usage Link to heading
There are two ways to convert an asciinema to a gif:
cast to gif Link to heading
From a cast file directly:
| |
upload to gif Link to heading
If you have an uploaded GIF to asciinema.org you can run using the URL of the cast, with .cast added to the end, and the filename of the gif you want:
| |
Options Link to heading
Similar to asciinema-edit there are a number of options with asciicast2gif that allow you to modify the final gif:
- theme: like asciinema.org you can change the theme used in the final gif
- speed: the higher the number the faster it goes (i.e. 2 is twice as fast)
- scale: scale of the final image (i.e. 1 for smaller gif, 2 default)
- columns: clip the width to a specific number
- rows: clip the height to a specific number
The Result Link to heading
The combination of all three tools result in fantastic examples that can easily be shared and posted to the web.
