The subiquity based Ubuntu Server install ISO was recently updated with many new features and options. Among the most requested features included new storage install options (e.g. LVM and software RAID) and network bonding. These features and a couple more are now included in the Ubuntu Bionic Server ISO.
Proxy Link to heading
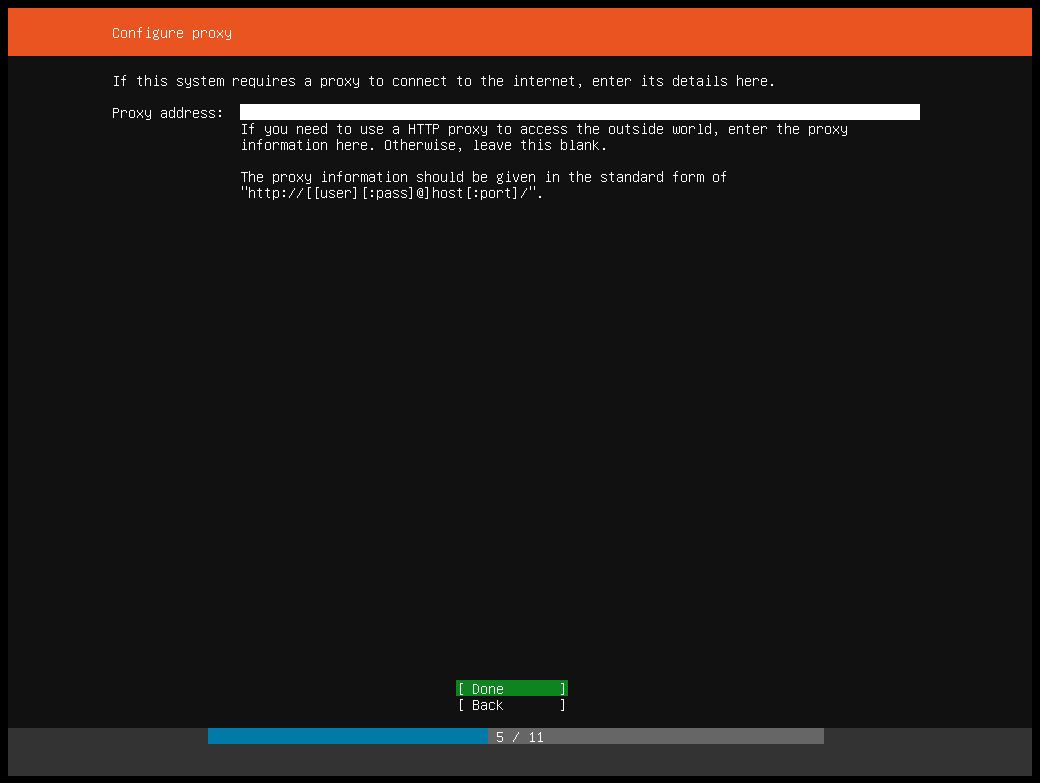
First, users now have the ability to specify a proxy early in the install. The majority of users can hit enter and skip this screen without any changes. However, some users, mainly corporate users, who are behind proxies and can now set the appropriate value on this screen.
Mirror Link to heading
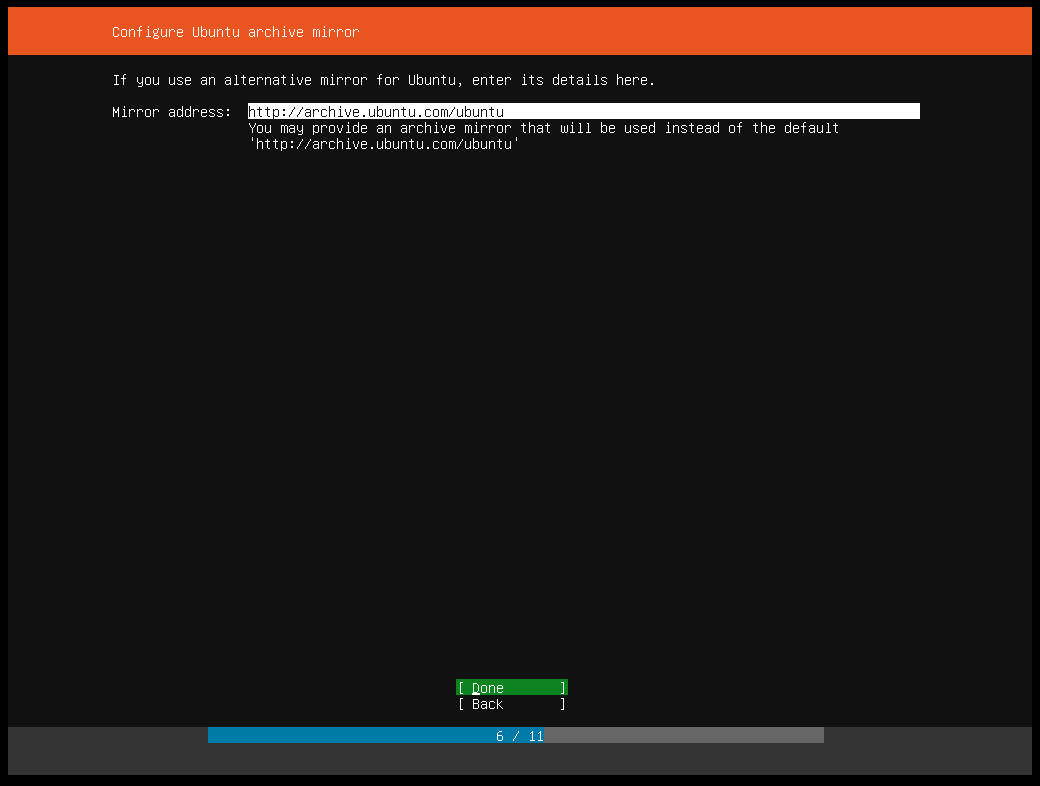
A user can now specify a different mirror to install from. Some users may have a better connection to a mirror of archive.ubuntu.com or wish to use a local mirror. This screen allows for entering that information.
Networking Link to heading
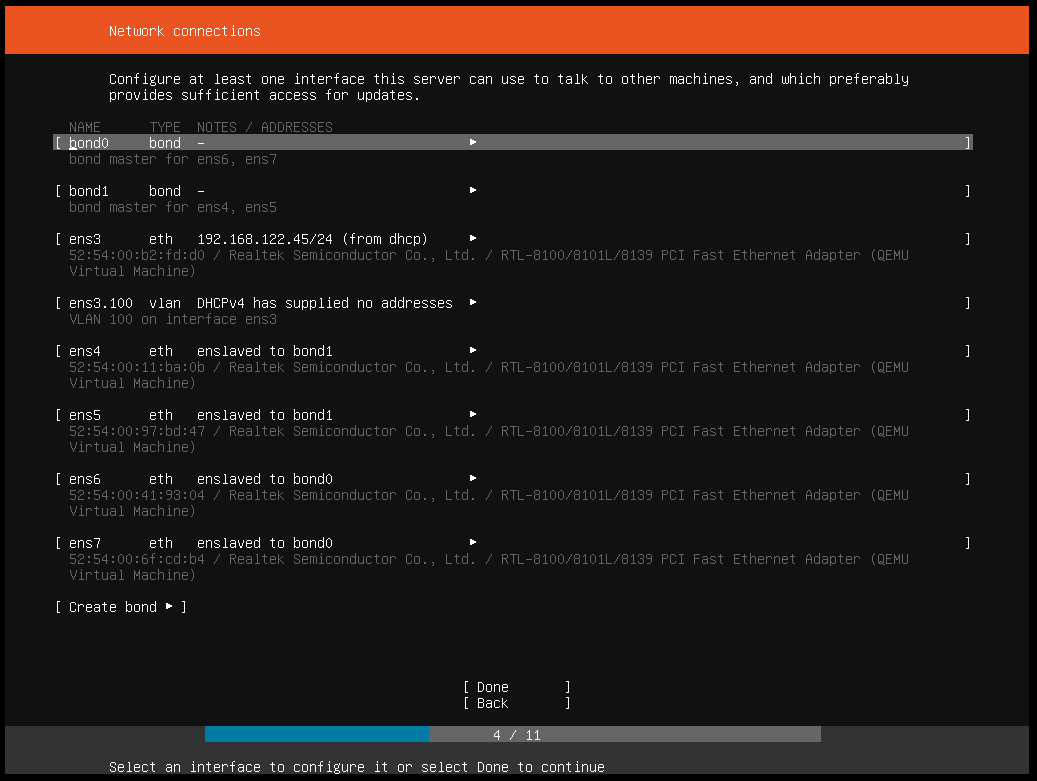
New to networking comes the ability to create bonds using the discovered networking devices and specify VLAN IDs on devices.
Bonding Link to heading
At the bottom of the network connections screen the new “Create bond” option will prompt a user to select the slave devices, bond mode, and appropriate bond options. All the various types of bond modes are provided as options to the user. If a bond mode also has additional parameters then those can be customized further down.

For more information on bonds, including a breakdown of the various bonding modes, check out the Ubuntu Bonding page on the wiki.
VLANs Link to heading
To add a VLAN to an interface a user selects the devices and chooses “Add a VLAN tag”. In the new windows enter the appropriate VLAN ID.

For more information on VLANs, check out the vlan page on the wiki.
Filesystem Link to heading
The filesystem setup screen was updated to include an additional option to allow for the commonly requested LVM setup across an entire disk.
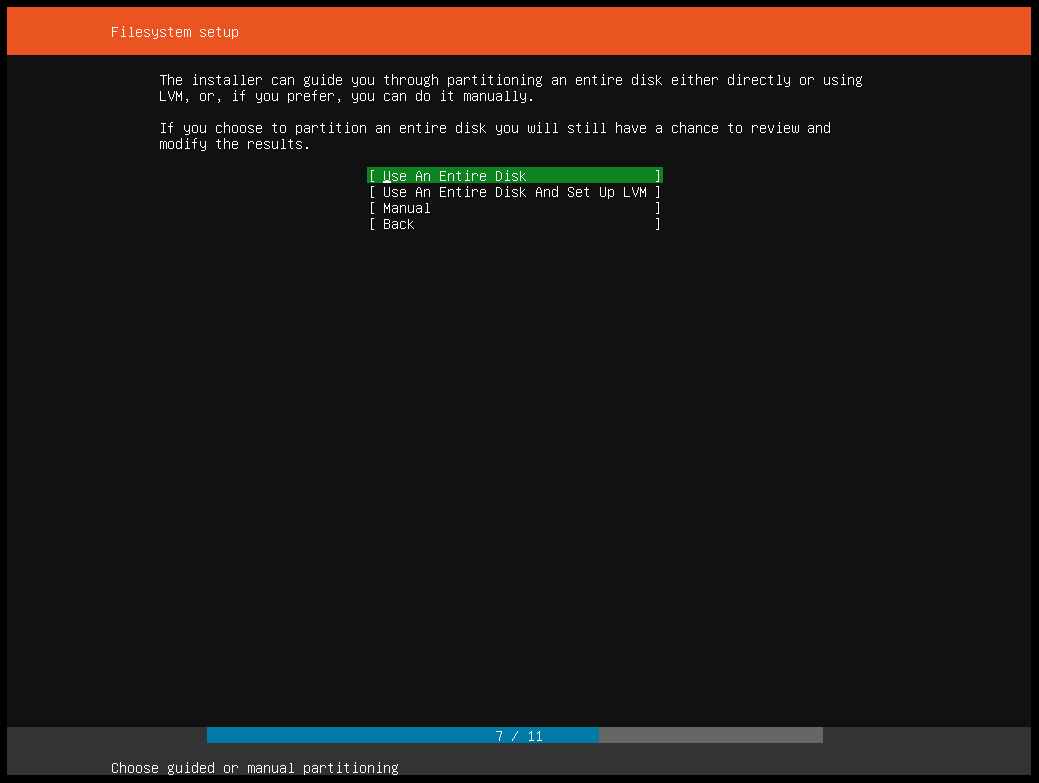
If the user instead chooses to select a manual install method, two new options to provide the ability to create a Software RAID volume and to create an LVM volume group:

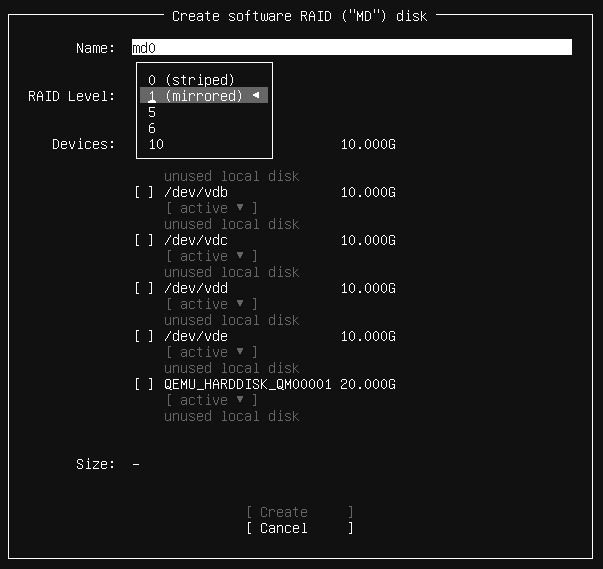
Software RAID Link to heading
The Software RAID screen allows the user to select the RAID level and then the specific drives for the RAID group. The correct minimum number of drives is required before continuing. Finally, the total amount of usable space will be shown at the bottom depending on the type of RAID level as well as the size and number of drives.
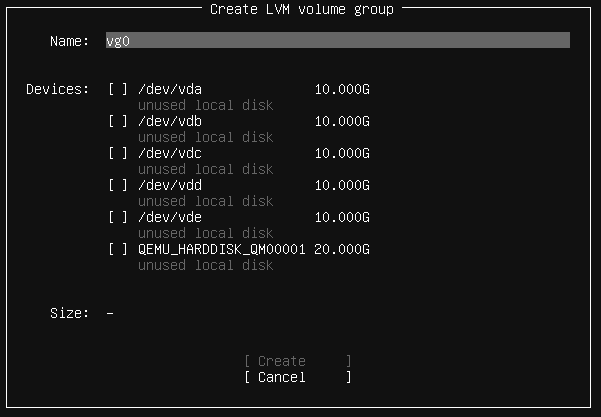
LVM Link to heading
Creating LVM volume groups is as easy as selecting the drive or drives required for the group. Afterwards the user can create a logical volume on top of the group and specify the size, format type, and mount point.
Try It Link to heading
With the recent release of 18.04.1, if you are getting ready to install Bionic Server please give the new subiquity-based Ubuntu Bionic Server ISO a try!