For this week’s test blitz, I took the new server installer based on subiquity for a spin.
Get Subiquity Link to heading
The daily live-server ISO has the latest and greatest features and enhancements to subiquity and is available for amd64, arm64, and ppc64el systems.
Be warned though that the release can also break from time to time as it will install the in development release, in this case Bionic Beaver. There is also a daily live-server ISO for the current release of Ubuntu 17.10 (Artful Aardvark).
Booting Link to heading
For my testing I used virt-manager, but you can also use qemu directly to fire up a quick virtual machine to try subiquity out:
| |
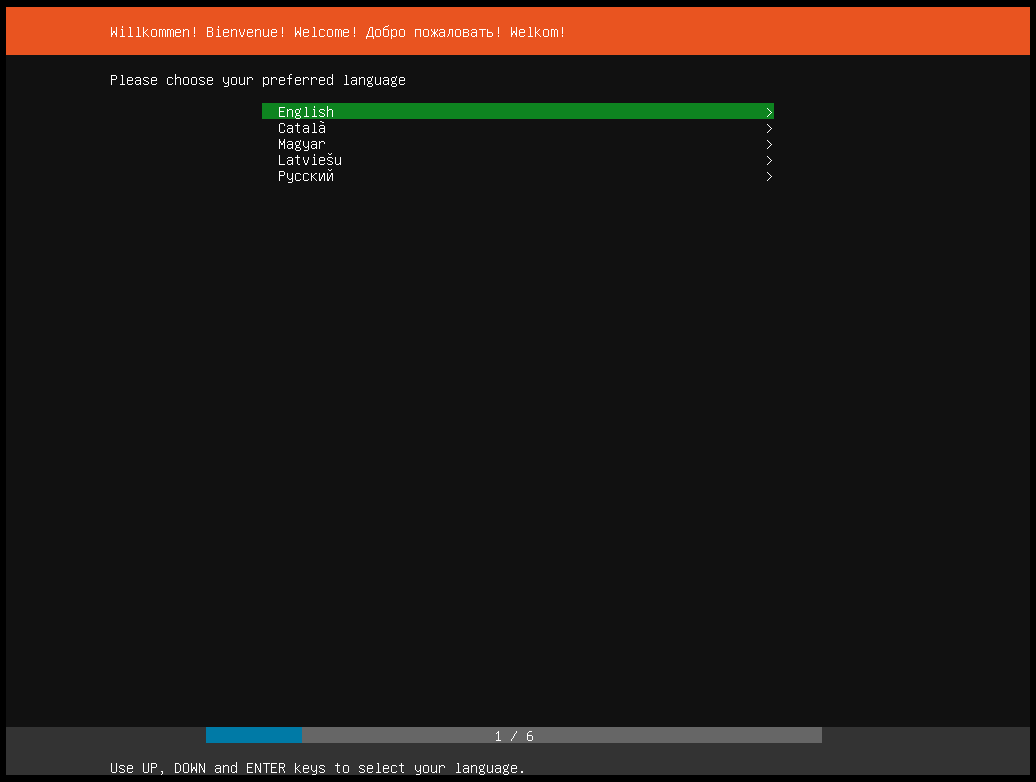
Once started we are greeted with the 18.04 splash screen and then the language selection:

Network Link to heading
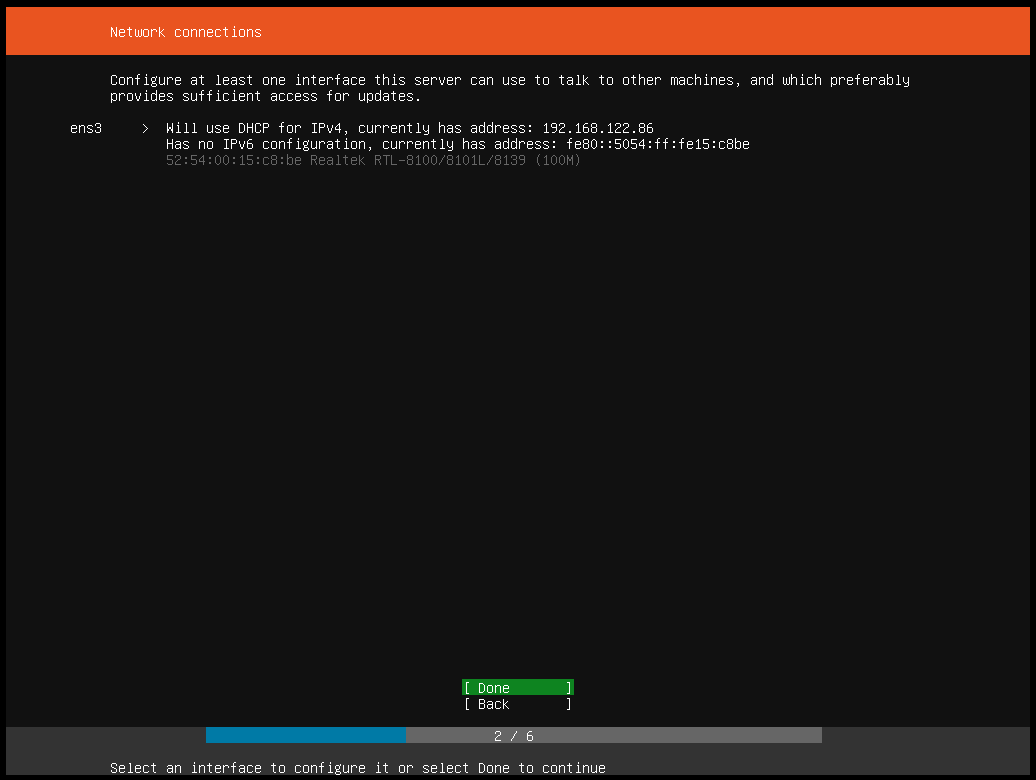
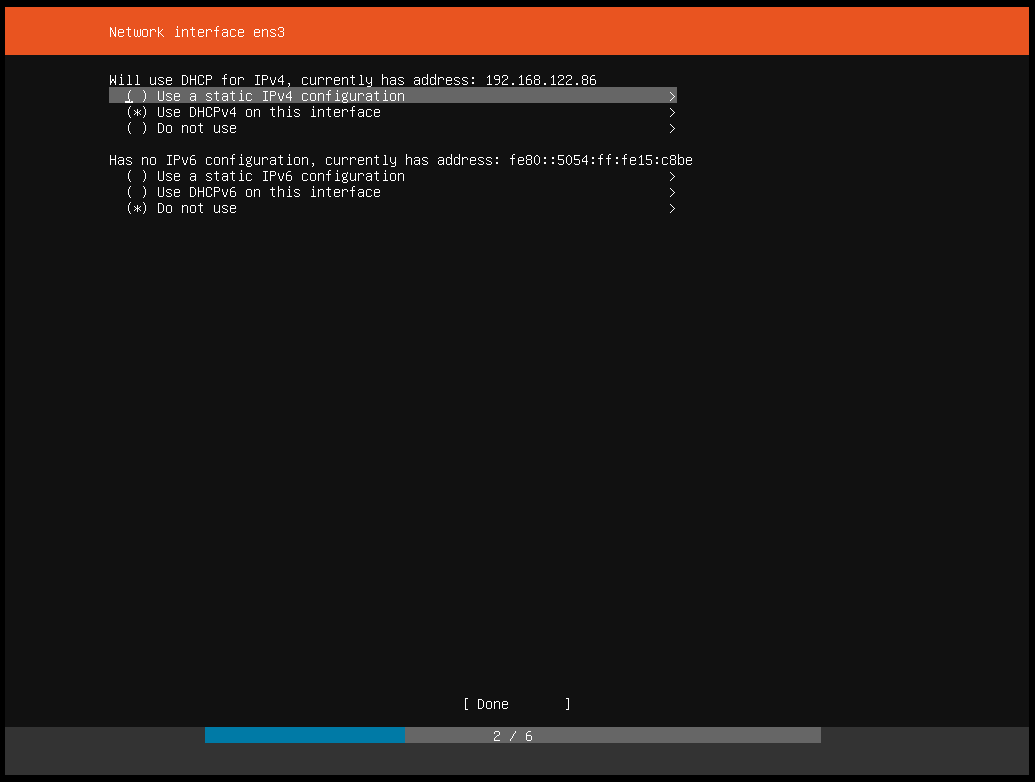
After selecting the language, next up is to configure the network device. By default the installer will attempt to DHCP on all devices. The user can also setup a custom configuration on each device. Unlike the previous installers the configuration you make here will also be used to configure your system after the install. Right now the setup is fairly simple and only allows for static addressing, DHCP, or not configuring the device:
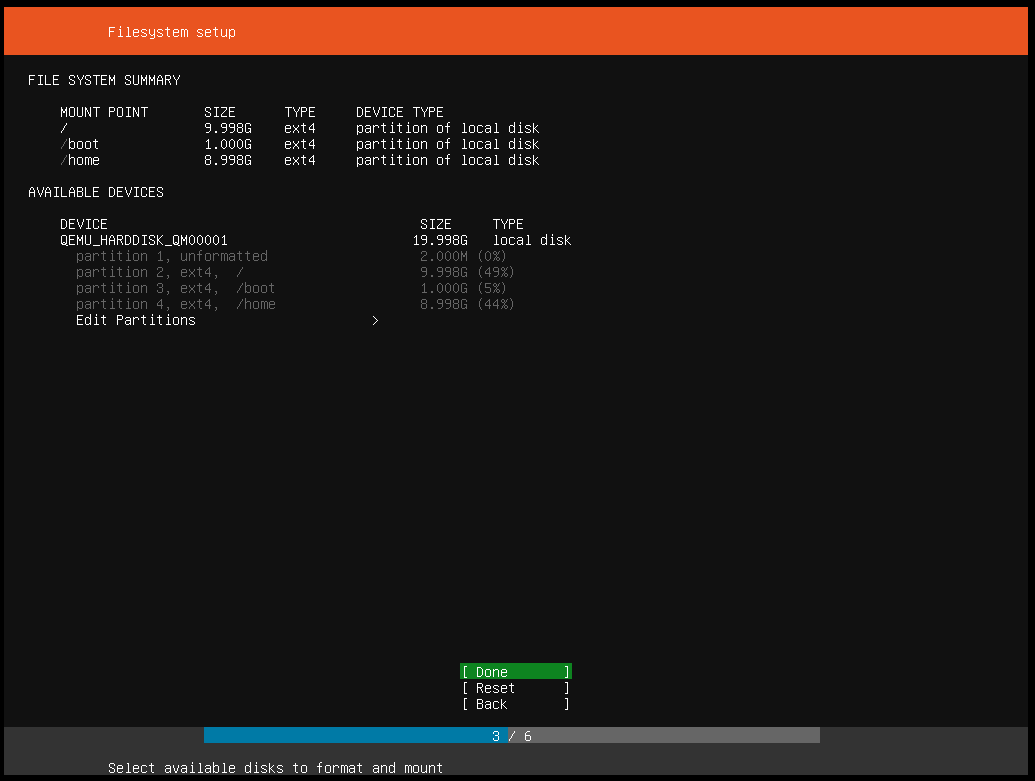
Storage Link to heading
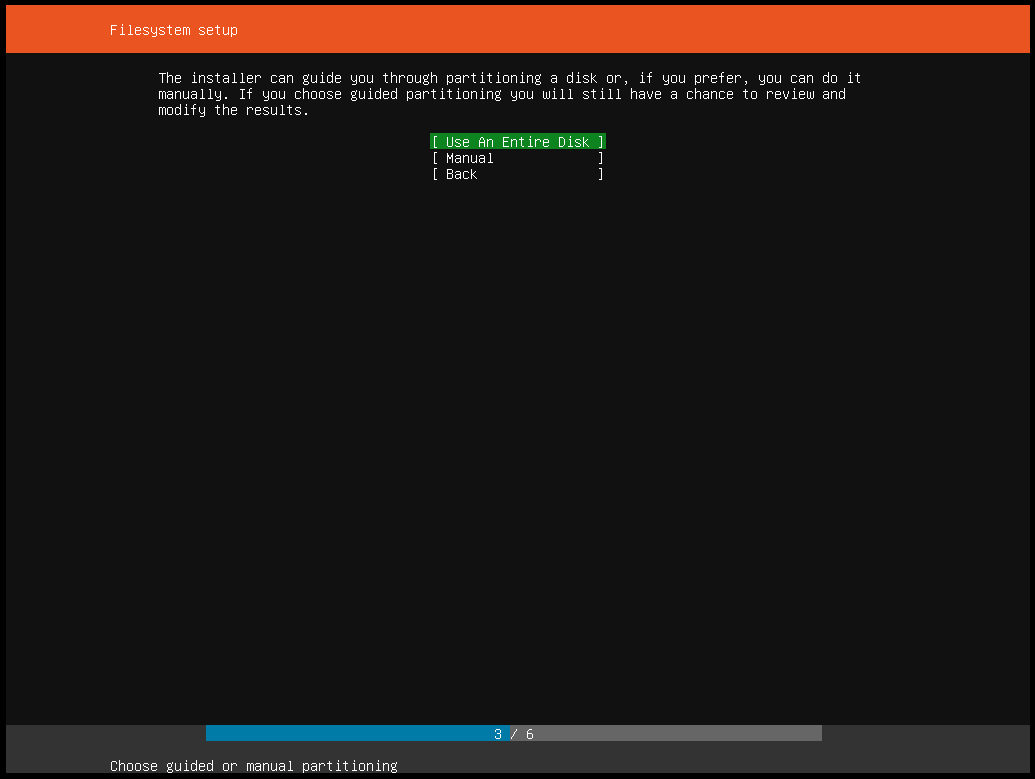
The next step is storage setup. Here the user has a choice of using an entire disk or creating potentially complex set of custom partitioning scenarios. I find this process much easier to use than on the original server ISO.
Install Link to heading
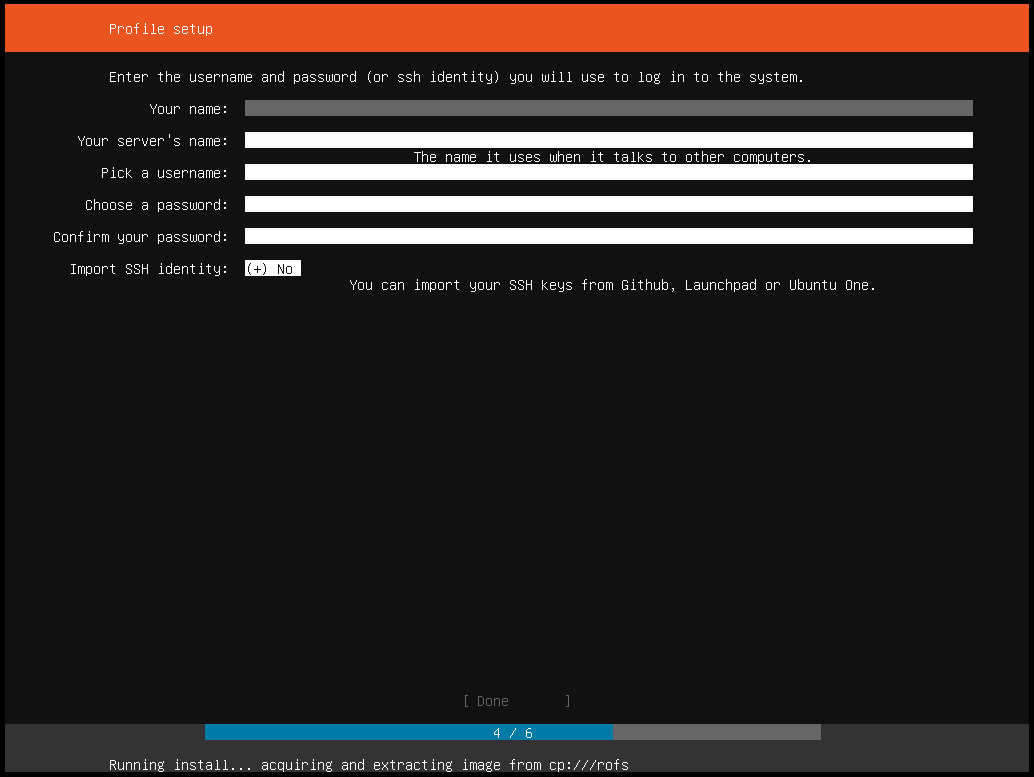
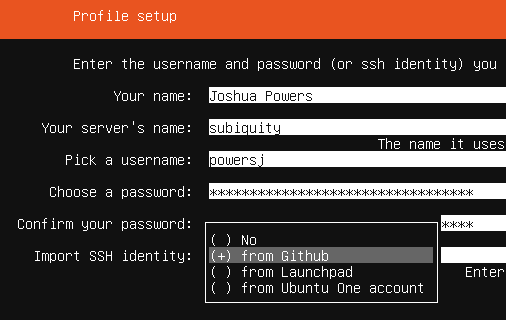
Once the networking and storage options are set the install will begin in the background. During that time the user is asked to setup his or her profile details. A nice new addition is the ability to pull in SSH keys directly from GitHub, Launchpad, and Ubuntu One accounts.
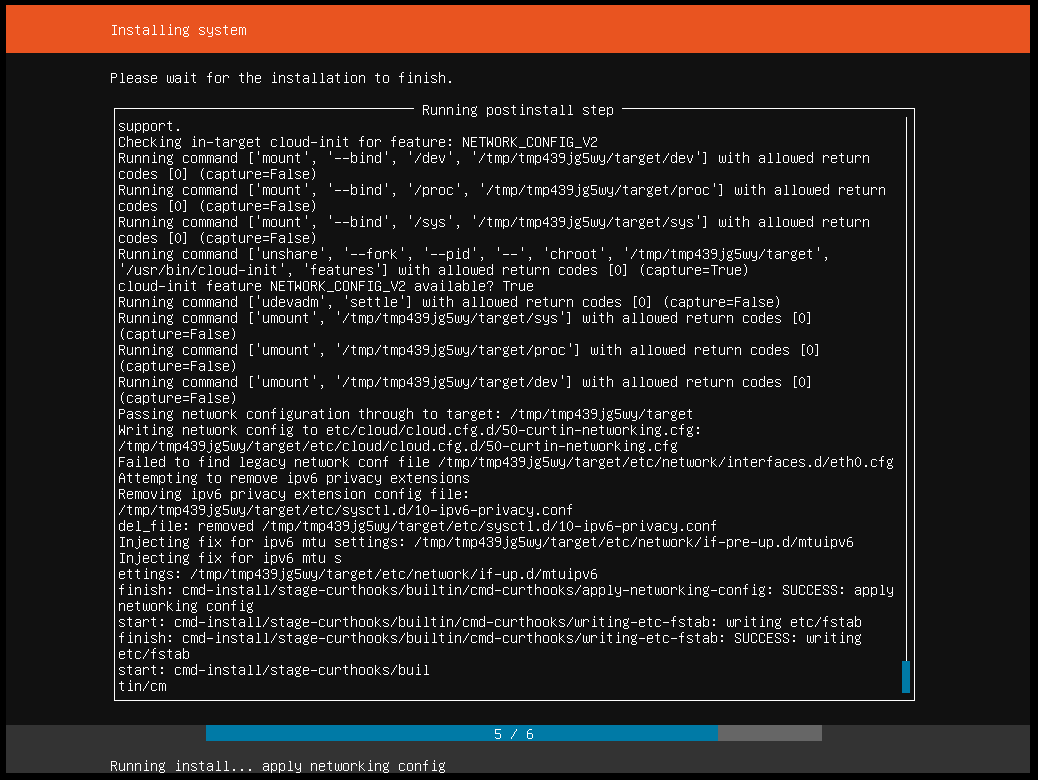
Finally, if there are no issues or errors during the install the system will prompt you to reboot, remove the install media, and you can then boot into your freshly installed Ubuntu server system!
Try Subiquity Link to heading
If you have not already please give the subiquity based server ISO a try! If you have a favorite virtualization software or custom disk setup that you use then making sure it works before Bionic is released is important to us.
You can get the latest ISO at the download link below and file any bugs you come across as well.